
There are times when I’ve
finished a beautiful piece of beadwoven jewelry and I think, “It would be a
shame to put metal findings on this piece, since everything else about it is
woven.” Adding a beadwoven toggle clasp to a piece of jewelry can create a sense
of continuity that might be missing if metal findings are used to finish a
piece that’s otherwise only beads and thread. In my work, I use metal findings
and beaded toggles; the choice for each piece usually depends on how I feel
about it after the piece is nearly finished and just needs a clasp. You can see
my tutorial on adding metal findings to a piece of beadweaving here.
This photo tutorial will
demonstrate the techniques I typically use to add a beaded toggle to my work.
It’s important to note that adding a beaded toggle requires the artist to be
versatile enough to modify their technique to suit the existing beadweaving and
the natural variations present in seed beads. A few things to consider:
1. Some beads have small holes
that make it difficult to reinforce your thread path if there are already a lot
of thread passes through them. Be aware that you may need to change to a
smaller needle or alter your thread path to ensure that your toggle is securely
attached without breaking any beads while you’re adding it.
2. Seed beads have natural
variation, and different types of seed beads have different stringing lengths,
so you’ll need to pay attention to how differences in your beads affect your
toggle. For example, Czech Preciosa seed beads typically have a much smaller
stringing length (parallel to the hole) than do Matsuno Dyna-Mites! seed beads;
thus, it may require more seed beads to make a large enough ring if you’re
using Czech seed beads than if you’re using Dyna-Mites!. Always check your work
to verify that the toggle ring fits the toggle bar while you’re making the
pieces, and don’t assume that a bead count that worked last time will work this
time, especially if you’re using more than one type of seed bead in your
toggle.
3. Some stitches make it
difficult to use more than one strand of beads to link the toggle to the work.
If you can reinforce a single strand enough that it isn’t likely to break over
time, you may find it prudent to only use one strand rather than two.
4. Some pieces of jewelry are
heavy enough that your toggle may need to be stiffer than usual to make sure it
doesn’t bend and slip out of its ring when the piece is worn. A stiffer toggle
can be achieved through tight tension, repeated reinforcement of thread paths,
altering your choice of stitch, or even using a form inside the tubular stitch.
5. There are several ways to
attach the toggle clasp to the existing beadwork. It is reasonable to tie off
your piece, then tie back on in with another thread in order to attach the
toggle. This is the method I’ll show you in the tutorial below. However, there
are other methods of attaching the clasp (such as using the working threads
from the creation of the toggle bar and ring or using the working threads from
your work to attach the toggle bar and ring), and your choice of how to attach
the toggle to the beadwork may depend on factors idiosyncratic to your design.
6. The ring for your toggle must
fit your toggle bar. The fit needs to be snug, but not so snug that it’s
difficult to open or close the piece. This may require modifying your bead
counts for your toggle ring and will take some practice to get right. See Step
2 below for more detail.
For this technique, you’ll
probably want to use beads that match the ones in your piece of jewelry. A
beaded toggle can be made with any size of seed beads, or even a combination of
sizes. As indicated above, however, it’s usually best to choose beads that have
reasonably large holes so that the thread paths can be reinforced repeatedly.
(The beads used in this tutorial are Matsuno Dyna-Mites!. The stitch used for the necklace is a variation of chevron stitch.)
(The beads used in this tutorial are Matsuno Dyna-Mites!. The stitch used for the necklace is a variation of chevron stitch.)
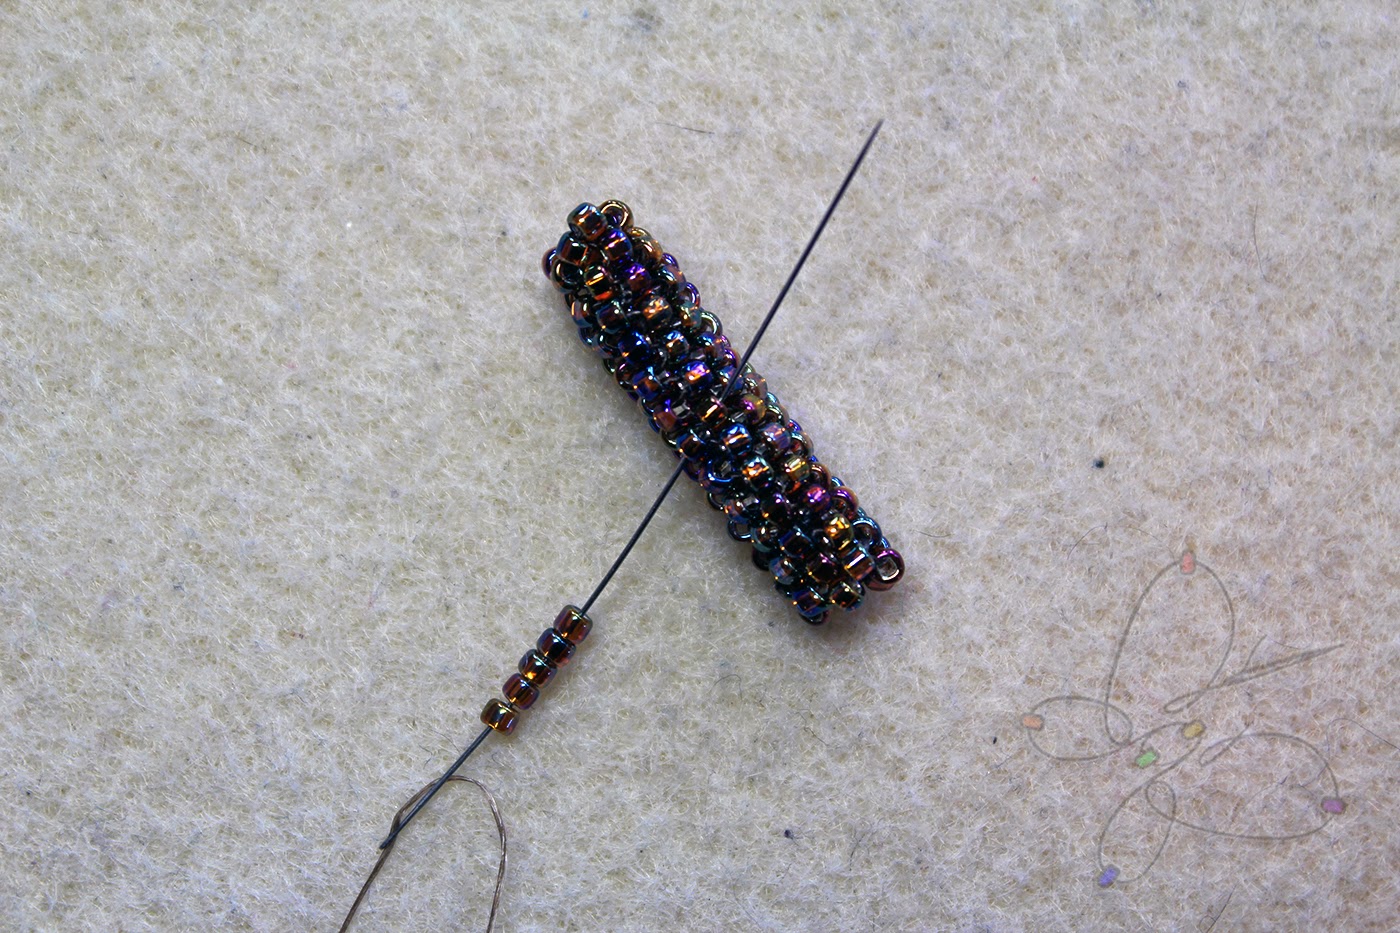
Step 0: Work your piece of jewelry until it’s finished except for
adding a clasp. Tie off your working thread and tail securely, but keep in mind
that you will need to be able to pass through the beads at the ends of your
work several more times in order to anchor the clasp. My tutorial for securely
ending thread can be found here.
Step 1: Make the toggle bar.
Using a new piece of thread, work a small amount of a tubular stitch in fairly tight tension. I frequently use odd-count tubular peyote (also called spiral peyote) for toggle bars. Other good choices of stitch include tubular herringbone (usually 3 or 4 stacks), even-count tubular peyote, flat peyote “zipped up” into a tube, and Russian rope stitch. Dutch spiral, Russian spiral, and tubular netting can work, but require a lot more reinforcement of the thread paths to reduce their suppleness. If you’re feeling adventurous, some woven accents, such as flowers and shapes, can be used as toggle “bars”, but I recommend becoming comfortable with the basic beaded toggle in this tutorial before attempting designs like these. Tie off your toggle bar as you would any piece of beadweaving (see my tutorial here). For the purposes of this tutorial, I’ll show you how to make a toggle bar from odd-count tubular peyote in size 11/0 seed beads.
Step 1a: Create your initial ring.
Using size 11/0 seed beads, pick up 9 beads. Pass through all of them again. Pass through two or three more beads to create a ring. Pull tight.

Step 1b: Begin to work in tubular peyote stitch.
Pick up 1 bead, skip 1 bead, and pass through the next bead. Repeat three more times. This will bring you to the end of the round. Since this is odd-count peyote, you will not step up at the end of the round. Instead, pick up 1 bead and pass through the first bead added in this step.

Step 1c: Continue to work in tubular peyote stitch for desired length.
Pick up 1 bead and pass through the next “up” bead in the work. Repeat until the piece is approximately 1” long. You’ll want to keep your tension even and fairly tight so that the bar is fairly stiff when finished.

Step 1d: Reinforce as necessary and tie off the toggle bar.
If your toggle bar seems like it isn’t stiff enough to hold its shape in the toggle ring when tugged on, reinforce the bar by following the thread path for the length of the bar, keeping your tension even and fairly tight. Once you’re satisfied that the bar is stiff enough, tie off the working thread and tail (see my tutorial on securely ending thread here).

Step 2: Make the toggle ring.
Make your toggle ring on a new piece of thread. NOTE: Always make your toggle bar BEFORE making your toggle ring. This will allow you to fit the ring to the existing bar, which is far simpler than fitting a bar to an existing ring. Toggle rings can be made with nearly infinite variations in stitch, shape, size, etc. For the purposes of this tutorial, I’ll show you how to make a basic peyote toggle ring that fits the toggle bar created in Step 1.
Note: Depending on the type of beads you’re using, you may need to adjust the number of beads in the initial ring. Just be sure to use an even number of beads. You’ll want the toggle bar to go into the ring easily with a little space to spare, but for the ring to be substantially smaller in inside diameter than the toggle bar is long. See illustration below.

Step 2a: Create your initial ring.
Using size 11/0 seed beads, pick up 26 beads. Pass through all of them again, then pass through two or three more to form a ring.

Step 2b: Peyote around the ring.
Pick up 1 bead, skip 1 bead, and pass through the next bead. Repeat around the ring.
Step 2c: Reinforce and tie off the toggle ring.
Reinforce both the inside ring of beads and the outside peyote beads. It’s important to reinforce the toggle ring very well because it will be subjected to a relatively high amount of force compared to the rest of the piece of jewelry. Tie off the working thread and the tail (see my tutorial on securely ending thread here).

Step 3: Attach the toggle bar to one end of
the work.
It’s important to leave some space between your toggle bar and your work. The reason for this is that your toggle bar should be a good bit longer than the inside diameter of your toggle ring, so in order to be able to pull the full length through the toggle ring, there must be some space left between the bar and the piece of jewelry. This is achieved by using anchoring bead strands that are several beads long.
Step 3a: Tie on to the existing beadwork.
Using a new thread, tie on to the existing beadwork, leaving sufficient tail to tie off within your work. (Tying on a new thread after tying off the piece of jewelry ensures that if the threads anchoring your toggle to your work are compromised, it will not cause the rest of the piece of jewelry to fall apart.) Follow the thread path to exit a bead at the location where you wish to attach your toggle bar.
Step 3b: Pick up the first anchor strand and attach it to the toggle bar.
Pick up 5 seed beads. Pass through a bead in the middle of the toggle bar and one bead directly above it.
Step 3c: Add the second anchor strand.
Turn and pass down through the bead on the toggle bar adjacent to the one you’re exiting and the next one directly below it. Pick up 5 seed beads and pass through a nearby bead on the piece of jewelry.

Step 3d: Reinforce and tie off.
Reinforce where your toggle bar attaches to your piece by repeating the same thread paths in Steps 3a, 3b, and 3c at least two more times. Exiting a bead on the piece of jewelry (not on the toggle bar), tie off your working thread; then tie off the remaining tail created from tying onto the work in Step 3a (see my tutorial on securely ending thread here).

Step 4: Attach the toggle ring to the other
end of the work.
Step 4a: Tie on to the existing beadwork.
Using a new thread, tie on to the existing beadwork, leaving sufficient tail to tie off within your work. (Tying on a new thread after tying off the piece of jewelry ensures that if the threads anchoring your toggle to your work are compromised, it will not cause the rest of the piece of jewelry to fall apart.) Follow the thread path to exit a bead at the location where you wish to attach your toggle ring.
Step 4b: Pick up the first anchor strand and attach it to the toggle ring.
Pick up 2 seed beads and pass through a seed bead on the outer part of the toggle ring.

Step 4c: Add a bead on the ring.
Exiting the bead on the outer edge of the toggle ring after Step 4a, pick up 1 seed bead and pass through the next “up” bead on the outside of the ring.

Step
4d: Add the second anchor strand.
Pick up 2 seed beads and pass through a nearby bead on your piece of jewelry.
Pick up 2 seed beads and pass through a nearby bead on your piece of jewelry.

Step 4e: Reinforce and tie off.
Reinforce where your toggle ring attaches to your piece by repeating the same thread path in Steps 4a, 4b, 4c, and 4d at least two more times. Exiting a bead on the piece of jewelry (not on the toggle ring), tie off your working thread; then tie off the remaining tail created from tying onto the work in Step 4a (see my tutorial on securely ending thread here).

Beaded toggle closures are a
beautiful way to finish a piece of beadwoven jewelry. With practice, you’ll
become comfortable enough with creating beaded clasps that you’ll be able to
embellish your clasps and even design clasps that double as focal pieces for
your jewelry.

Happy beading!
The photos in this tutorial were taken by Perry Gilbert.
Thanks a bunch, Perry!
No comments:
Post a Comment